
How to Screen Print at Home in Only 3 Steps?

Screen printing is the art of pushing ink through a mesh stencil to create personalized designs on fabric, paper, and a range of other materials. This technique has existed for centuries to create customized items due to its efficacy, efficiency, and cost-effectiveness. Whether it’s creating customized t-shirts, uniforms, or customized gifts, screen printing offers a tangible satisfaction that digital printing can’t match.
However, screen printing has never been the poster child for an easy at-home project. Its traditional method is quite tedious as it requires a long list of supplies and patience to prepare the stencil screens. But that’s where the xTool screen printer comes in. It simplifies the whole journey, as it is the world’s first screen printer that uses a laser-engraved stencil for screen printing.
In this article, we will guide you through a three-step simplified procedure for screen printing at home. You’ll also learn the key tools and how they break down the complex process.
In This Article
- How to Screen Print with The Traditional Process?
- How to Screen Print: The Simplified 3-Step Screen Printing Process
- Benefits of using xTool Screen Printer for DIY Screen Printing
- FAQs of Screen Printing at Home
- Conclusion
How to Screen Print with The Traditional Process?
Our screen printing methodology may be swift, but it’s rooted in the traditional process. Understanding that traditional process is crucial to appreciate the technology we are highlighting. It sets the foundation for understanding the advancements we have made.
Supplies Needed for Traditional Screen Printing
For traditional screen printing, you will need a comprehensive set of tools. These include a screen and frame, a squeegee, an emulsion, a scoop coater, an exposure unit, and inks. You will also require a washout station and a space to let your prints dry.
The function of each tool and the way we use it is explained in the next procedural section.
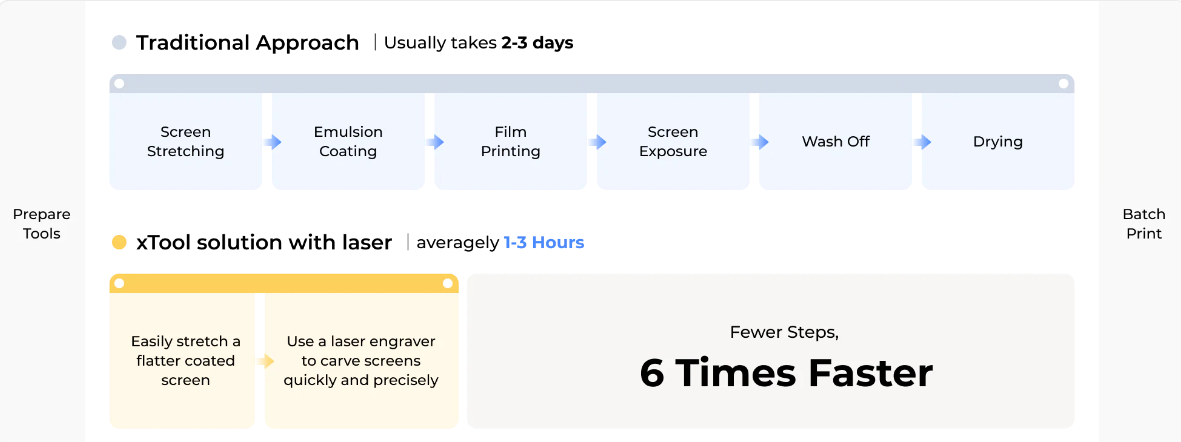
The Traditional Screen Printing Process: 7 Major Steps
Step 1: Screen Stretching
The process starts with a mesh screen, primarily made of silk or polyester. You stretch it in a frame so that it smoothly absorbs ink and later on transfers it when used for printing.
Step 2: Emulsion Coating
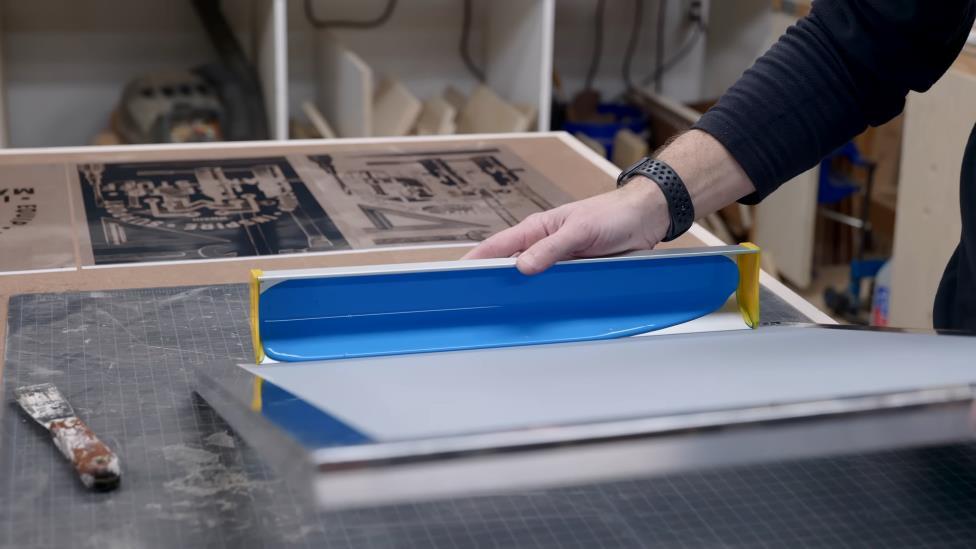
©ILiketoMakeStuff – YouTube
Coat the screen with a thin layer of photo-sensitive emulsion. This emulsion will create the stencil for your design. It’s applied with an emulsion scoop coater, which forms an even layer across the entire mesh.
Step 3: Film Printing
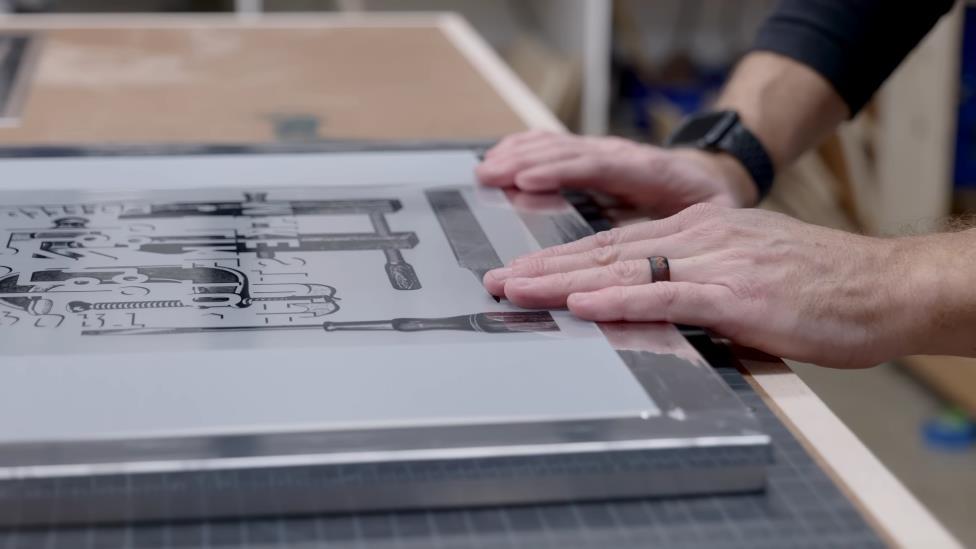
Print your design on a transparent film. Attach this transparent film to the emulsion-coated mesh with a transparent tape.
Step 4: Screen Exposure
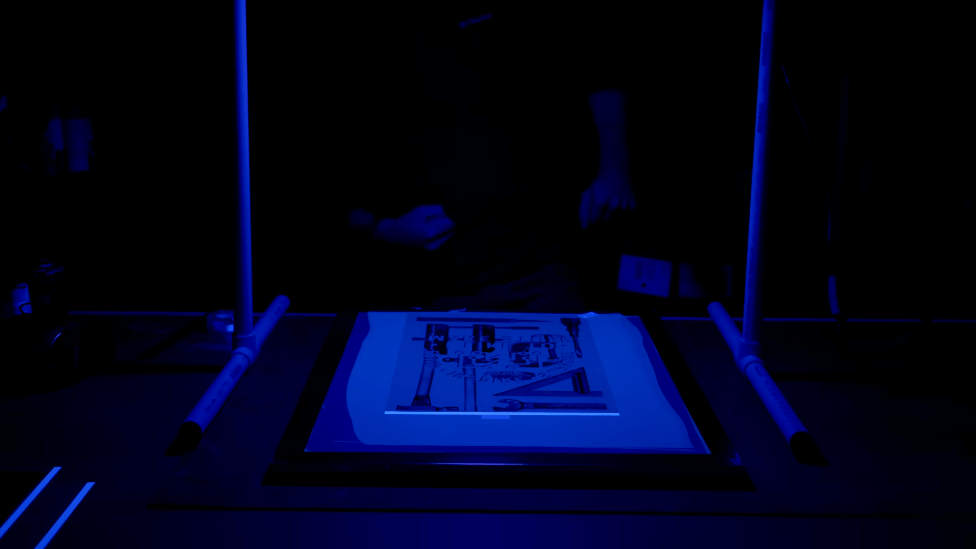
Expose the screen to a strong light source. The light hardens the emulsion not covered by your design. This exposure process is where the magic happens, as it develops the stencil through which you’ll later push the ink.
Step 5: Wash Off
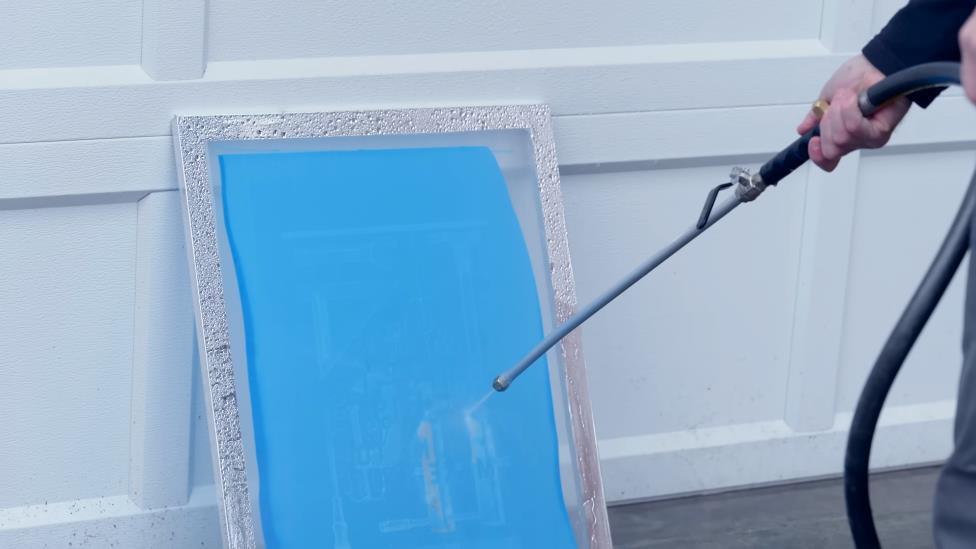
After exposure, wash off the unhardened emulsion with water. The areas of the screen covered by your design will wash out, leaving a clear mesh where the ink can pass through to create your print.
Step 6: Drying
Finally, let the screen dry completely. A dry, well-exposed screen is important for a clean print. Once dry, your screen is ready for ink application, and you're set to print your design onto your chosen material.
Step 7: Printing
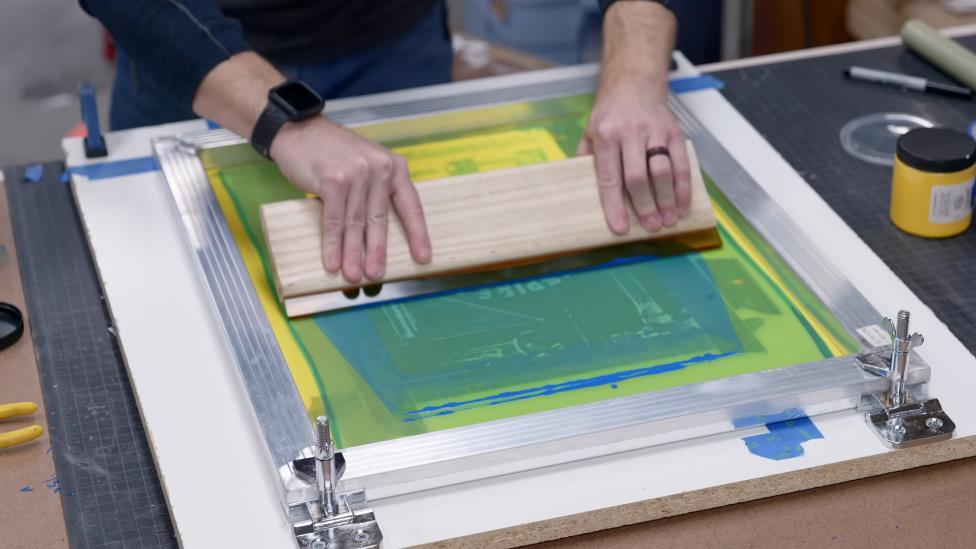
Place the screen over your printing surface. Pour ink onto the screen and spread it once with the squeegee. Then, place this stencil over the material, pour more ink, and press it onto the surface with the squeegee.
How to Screen Print: The Simplified 3-Step Screen Printing Process
The main ingredients for our simplified 3-step screen printing journey are these two innovative tools:
1. xTool Screen Printer
The xTool Screen Printer is a comprehensive solution for screen printing. Firstly, it reduces the long and tiring process of creating a coated mesh. The tool comes with pre-coated screens that have been professionally sprayed on both sides. They enhance durability and provide a level of flatness 6 times greater than manually sprayed screens.
The design of the machine takes cues from traditional screen printing setups but adds an innovative twist. It features a frame that simplifies mesh stretching, equipped with 4 tensioning bars and 6 quick tensioning wrenches. This setup allows for easy stencil attachment and removal.
Adaptability is another key feature. The machine’s quick-release clamp lets you switch screen frames to suit different jobs, making it possible to print on both small and large items from a single workbench. Whether it’s multi-color printing or batch jobs, the Screen Printer can handle it with ease.
Height adjustments are a breeze with the Z-axis press, which means you don't have to perform additional actions when changing print objects. This feature is a time-saver, especially when adapting to materials of varying heights and improving batch printing efficiency.
xTool screen printer is not just for t-shirts; it’s versatile enough for business cards, wedding invitations, posters, and printing on wood or fabric. It's designed to meet all your screen printing needs without limitations.

With a workspace of 11.5 by 16 inches, the machine is currently compatible with our laser engravers, the xTool D1 Pro and S1. We have plans to introduce smaller versions for other xTool machines in the future.
2. xTool D1 Pro

The xTool D1 Pro is a diode laser cutter and engraver, available with 5W, 10W, 20W, and 40W power diode laser modules. For screen printing tasks, the 10W model is perfectly adequate.
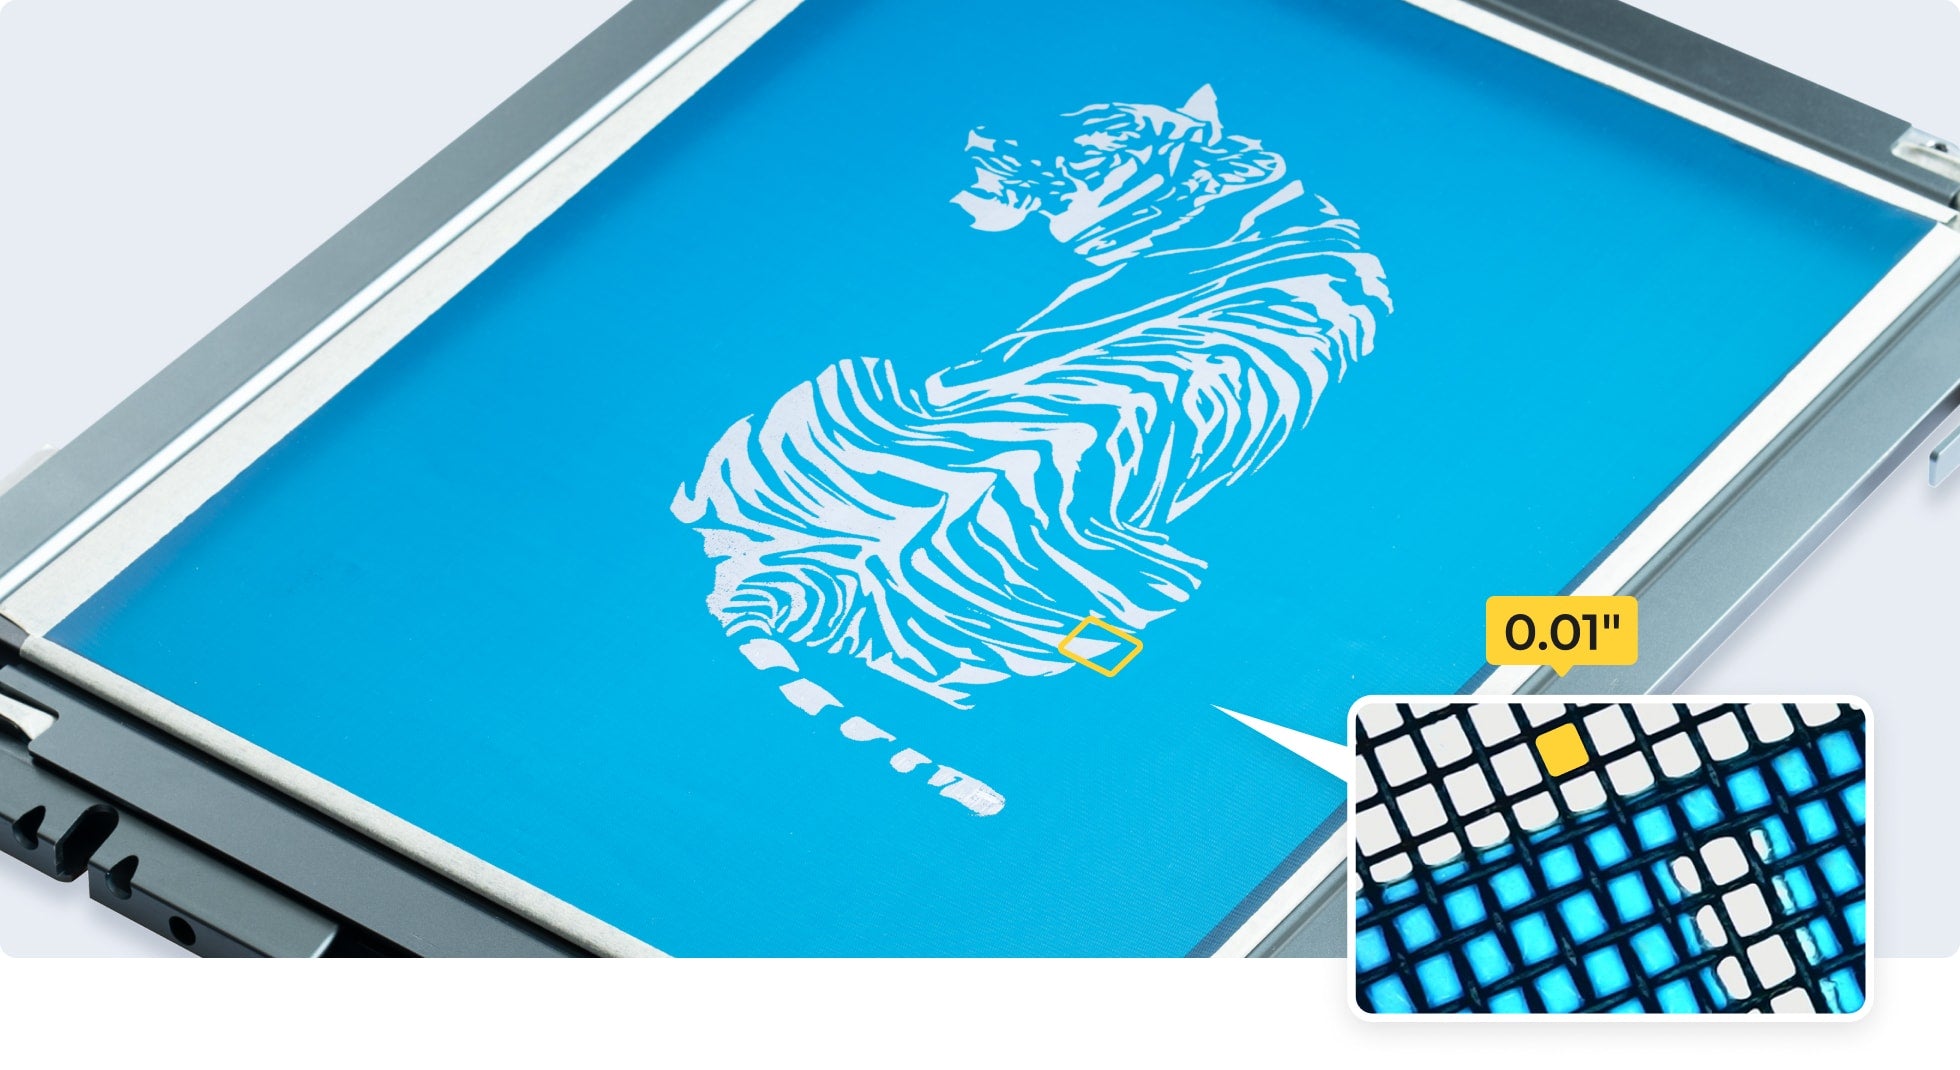
Its primary role in screen printing is to engrave the coated mesh, crafting the stencil needed for your print. The machine excels in this segment with its ultra-fine precision and motion accuracy of 0.01 mm. This means it can capture every nuance of your design, from the smallest text to the most intricate patterns, with flawless accuracy.
Speed is another highlight. D1 Pro engraves at a swift pace of 400 mm/s, turning a task that traditionally took hours into one that takes just minutes.
3-Step Screen Printing Process with xTool
Once you have these two tools, it’s pretty easy to follow the next three steps to get the screen printing job done.
Step 1: Setting Up the Screen in the frame
Insert your pre-coated mesh into the xTool frame. Secure it with the provided clamps and use the tensioning wrenches to stretch the mesh evenly across the frame.

Step 2: Engrave the Stencil
Place the frame with the pre-coated mesh into the laser engraver. Load your design into the D1 Pro using our XCS software and initiate the engraving process to create your stencil.

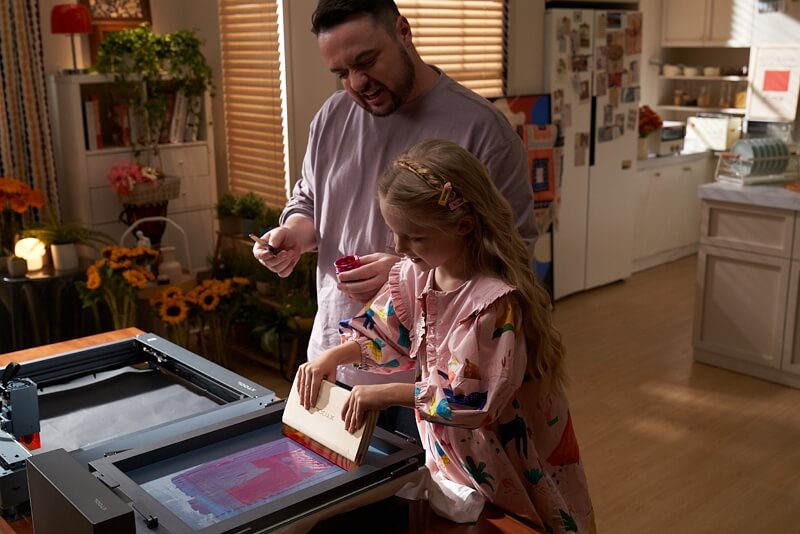
Step 3: Spread the Ink
Mount the engraved frame onto the xTool Screen Printer. Adjust the height based on the material you’re printing on. Then, apply ink to the screen, and use a squeegee to press the ink through the stencil onto your material.


Benefits of using xTool Screen Printer for DIY Screen Printing
As we saw, the whole process of multiple steps has just been cut down to three steps. The approach has been the same but the new tools have reduced time and cost.
Here’s a list of some benefits you get by using our screen printer:
Time-saving
Traditional screen printing is a lengthy process; it often takes days just to prepare a single screen. Whereas, the xTool Screen Printer, with its pre-made stencils, condenses the seven to eight-step process into just three steps. We claim that it is at least six times faster than the traditional method and brings down the whole process to just 3 hours.
Cost-effective
The conventional method requires a multitude of tools, including emulsion, a specialized printer, and designated spaces for exposure and drying. With our approach, you just need two main tools: the screen printer and a laser engraver like the D1 Pro. They both collectively are available for under $800, making this combination a budget-friendly option for enthusiasts and small businesses alike.
Ideal for DIYers and Small Businesses
If you’re just starting a business you won’t want to engage in a long tiring screen preparation process, nor you would want to have an extra space or multiple tools. In that case, the xTool screen printer comes to the rescue; it is particularly designed for DIYers and small businesses.
Precision
Traditional methods can struggle with detailed patterns during the exposure and washing stages. With its 0.01mm motion accuracy, the D1 Pro laser engraver ensures that your design remains true to your original vision without any unwanted alterations.
Versatility
This machine's adaptability is unmatched. It can handle a variety of materials, and its axial adjustments allow for quick stencil changes. The easy-to-modify height and other settings make it simple to print on different items.
FAQs on Screen Printing at Home
How Hard is Screen Printing?
It’s not hard but a time-consuming process if you follow the traditional path. However, with the xTool three-step process, stretch, engrave, and print; the process is now simple and can be performed at home.
What Types of Items Can be Screen Printed?
Almost anything flat –posters, invitation cards, tees, caps, shirts, fabric, leather, or wood. The possibilities are huge.
What is the Quickest Way to Screen Print at Home?
Using the xTool laser engraver and Screen Printer combo is the fastest method. The setup reduces the screen printing process of days to just a few hours.
Can I Start a Screen Printing Business with xTool Screen Printer?
Yes, our xTool screen printer is targeted at smart DIYers and home businesses who want to start this traditional business venture in a modern way. You can check out our detailed post on how to start a screen printing business to explore the business opportunities.
Conclusion
Screen printing is a centuries-old technique for creating a batch of customized items. It has been a staple for businesses, yet its complexity has kept it out of the home business realm.
We have presented a unique solution that redefines the screen printing experience. You get to cherish this old technique in a modern way. Plus, there’s the possibility to start a small at-home business with it. Get the modern screen printing duo now and start your entrepreneurial journey!
For more questions. Please join our Facebook group to get inspired!

Related Posts

How to Sell Shirts on Etsy?

What to Sell on Etsy: Best Things to Make and Sell
